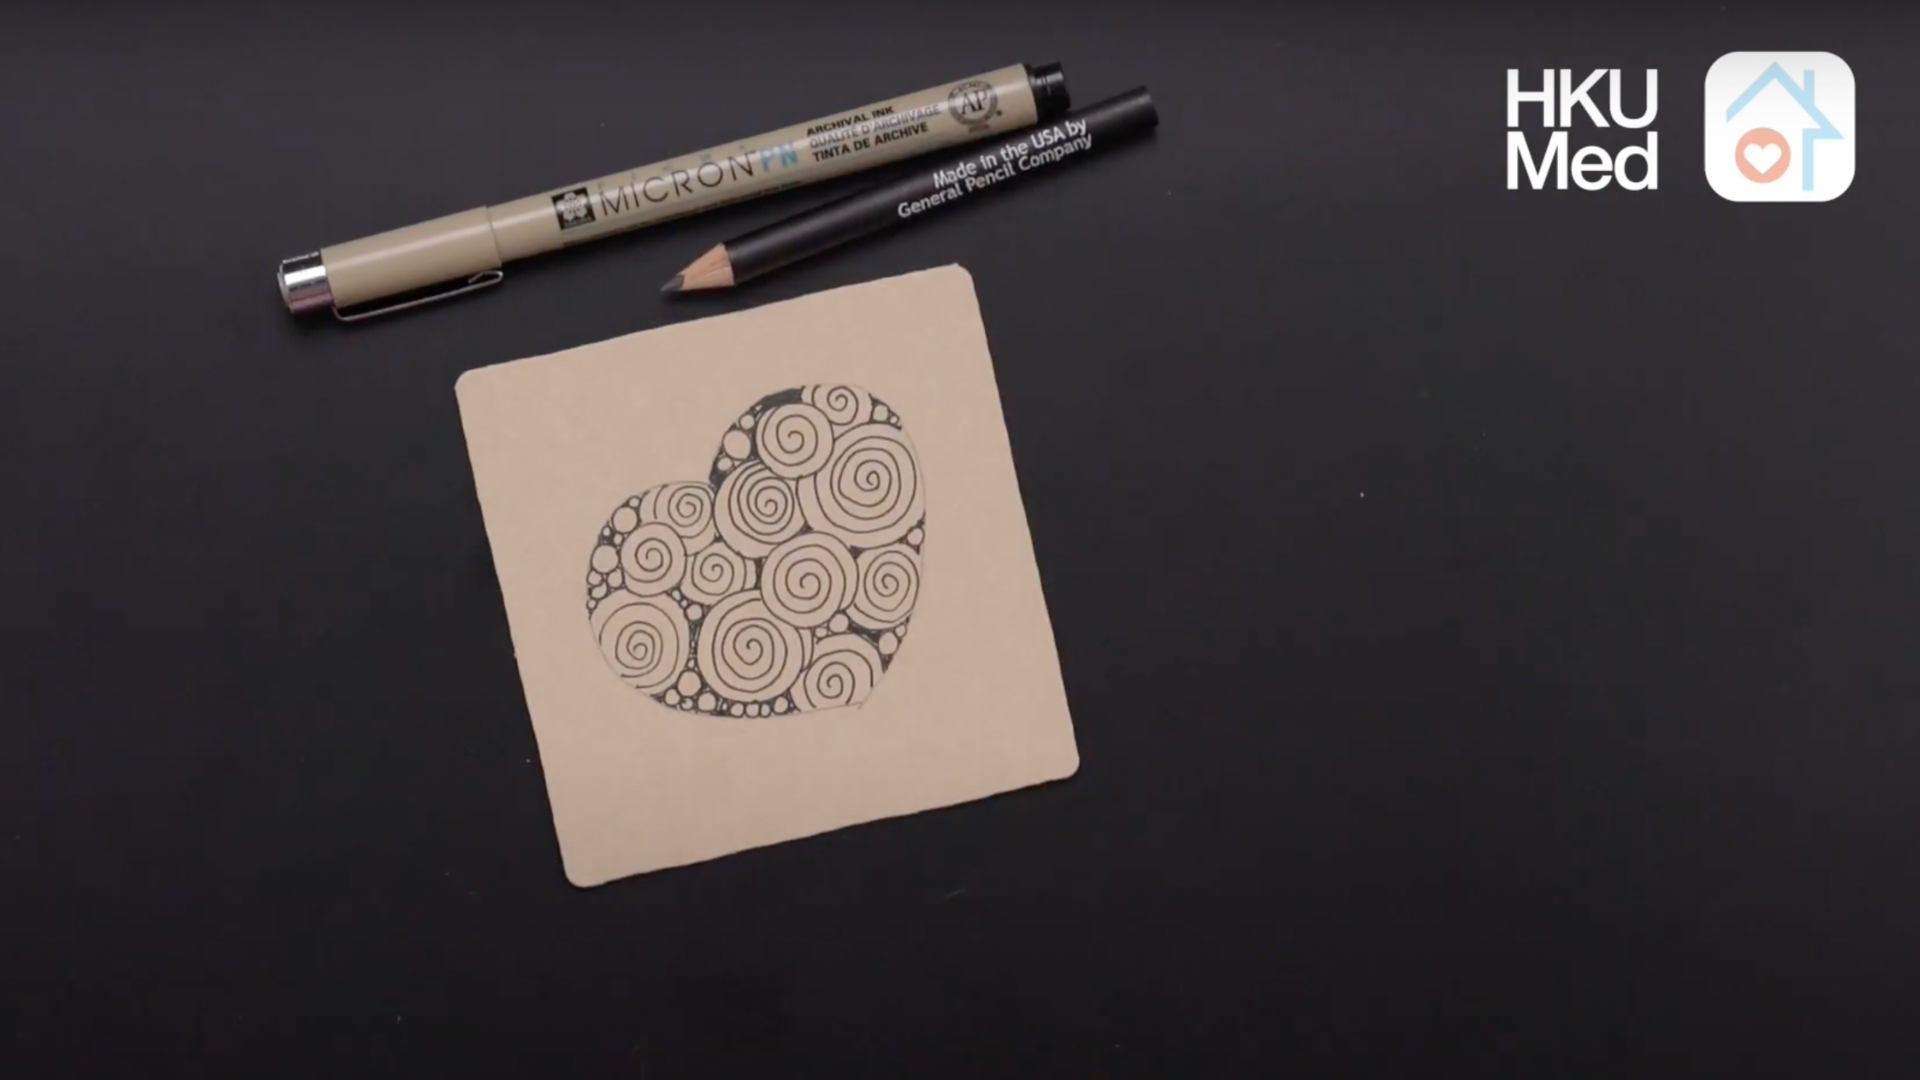
The basics
- Prepare a pen and a piece of paper
- Sit comfortably and relax one’s body
- Place the paper on a flat surface and hold a pen.
- Feel the strength of grip of the drawing hand.
- Relax the grip if it is too tight and adjust until it is the most comfortable position.
- Let the pen glide over the paper to allow one to explore how the pen interact with the paper such as the pen texture on paper.
- Move on drawing with the following exercises.
The following are 5 different relaxing mindful drawing exercises:
1. Draw your breath
- Gently hold a pen and being it above the paper.
- Next pay attention to one’s breathing rhythm
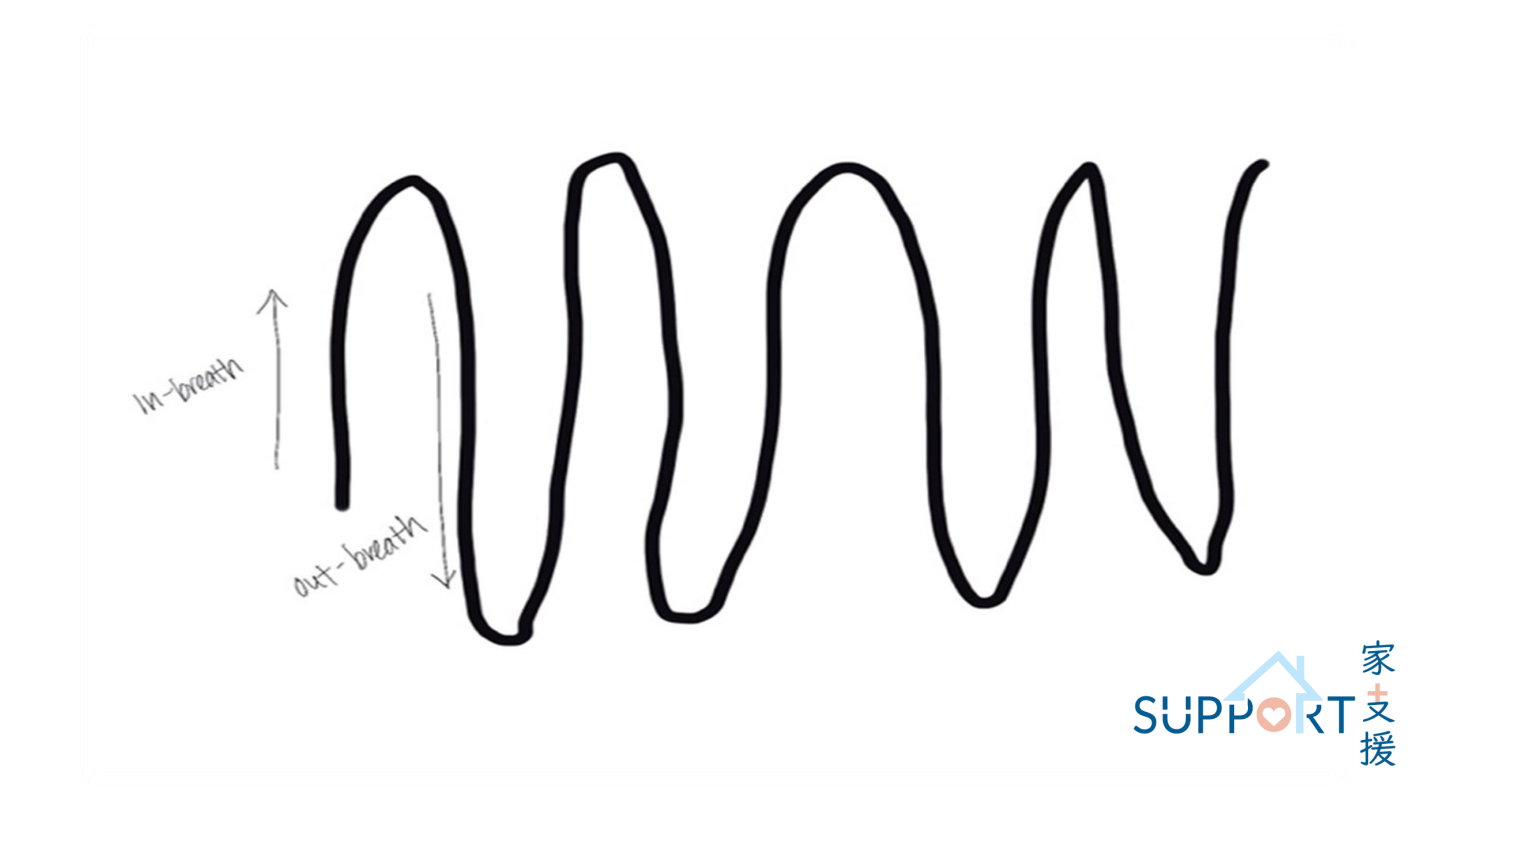
- Then without trying to change the breathing rhythm, start drawing continuous lines up and down from the left to the right side of the paper and vice-versa if one is left-handed.
- Let the pen draw lines to mimic breathing such as in-breath, the outbreath also the pauses in between, so the drawing is a mirror of how fast or slow, deep or shallow one’s breath feels.
2. Draw circles
Same as the previous, start with basics by sitting comfortably and hands relaxed. This exercise will help to improve the conscious power of your brain.
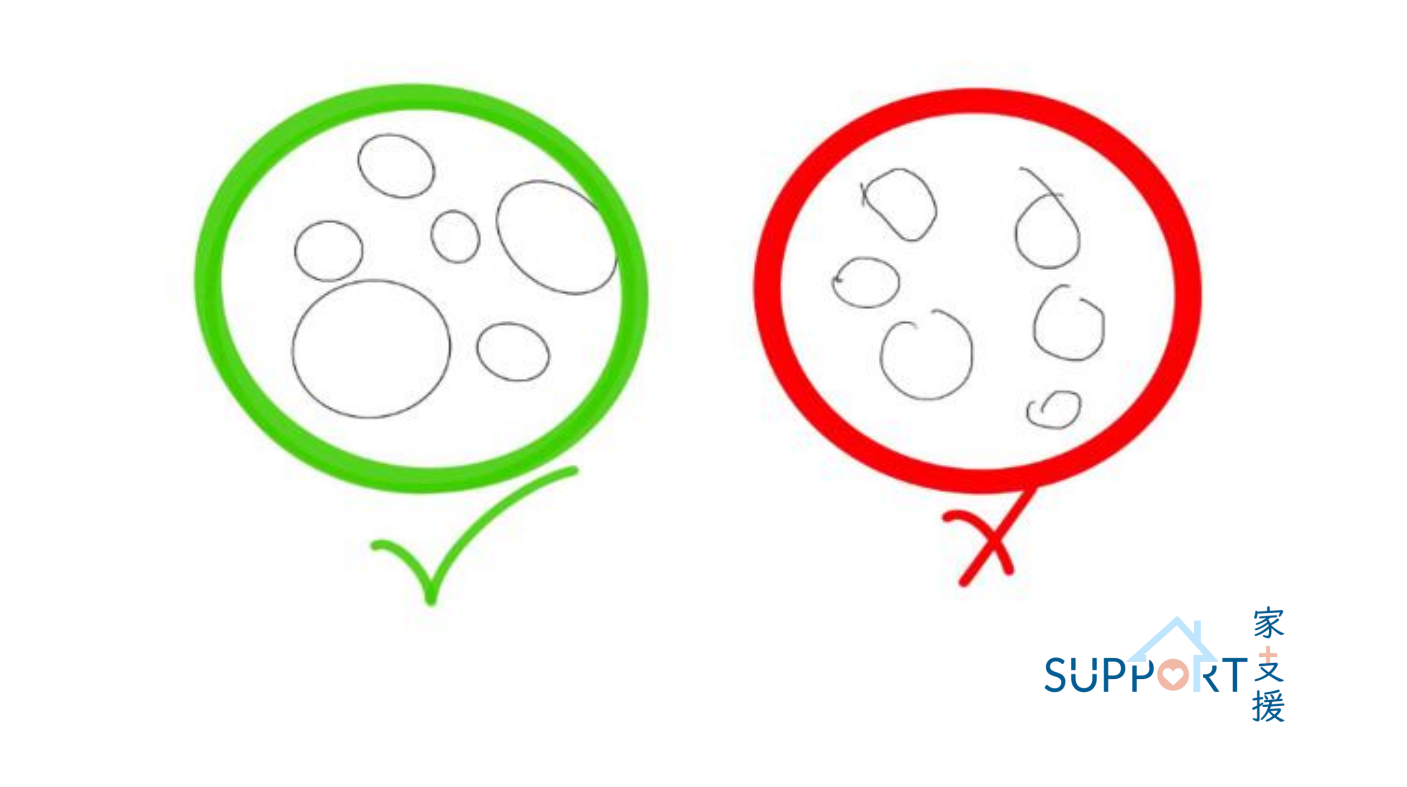
- Start by simply drawing a circle on the paper, but with one absolute rule applicable to this exercise: Always close the circle, even if it the circle is imperfect.
- Keep one’s eyes focused on the tip of the pen and be aware that the space provided on the piece of paper.
- To increase difficulty, one can remain aware of the place where one drew the previous circle then consciously choose the place to draw the next circle. In addition, one can draw the circles in clockwise and counter-clockwise direction to increase difficulty.
- If these last steps are too challenging, do not worry: keep practicing the simpler version until one feels comfortable, and then increase the difficulty.
3. Draw Mandalas
The word “mandala” originated from the Sanskrit for circle. It is a symbol in a dream, representing the dreamer's search for completeness and self-unity.
Here is how to draw a mandala free hand:
- Start by drawing a small circle or two in the centre of the paper.
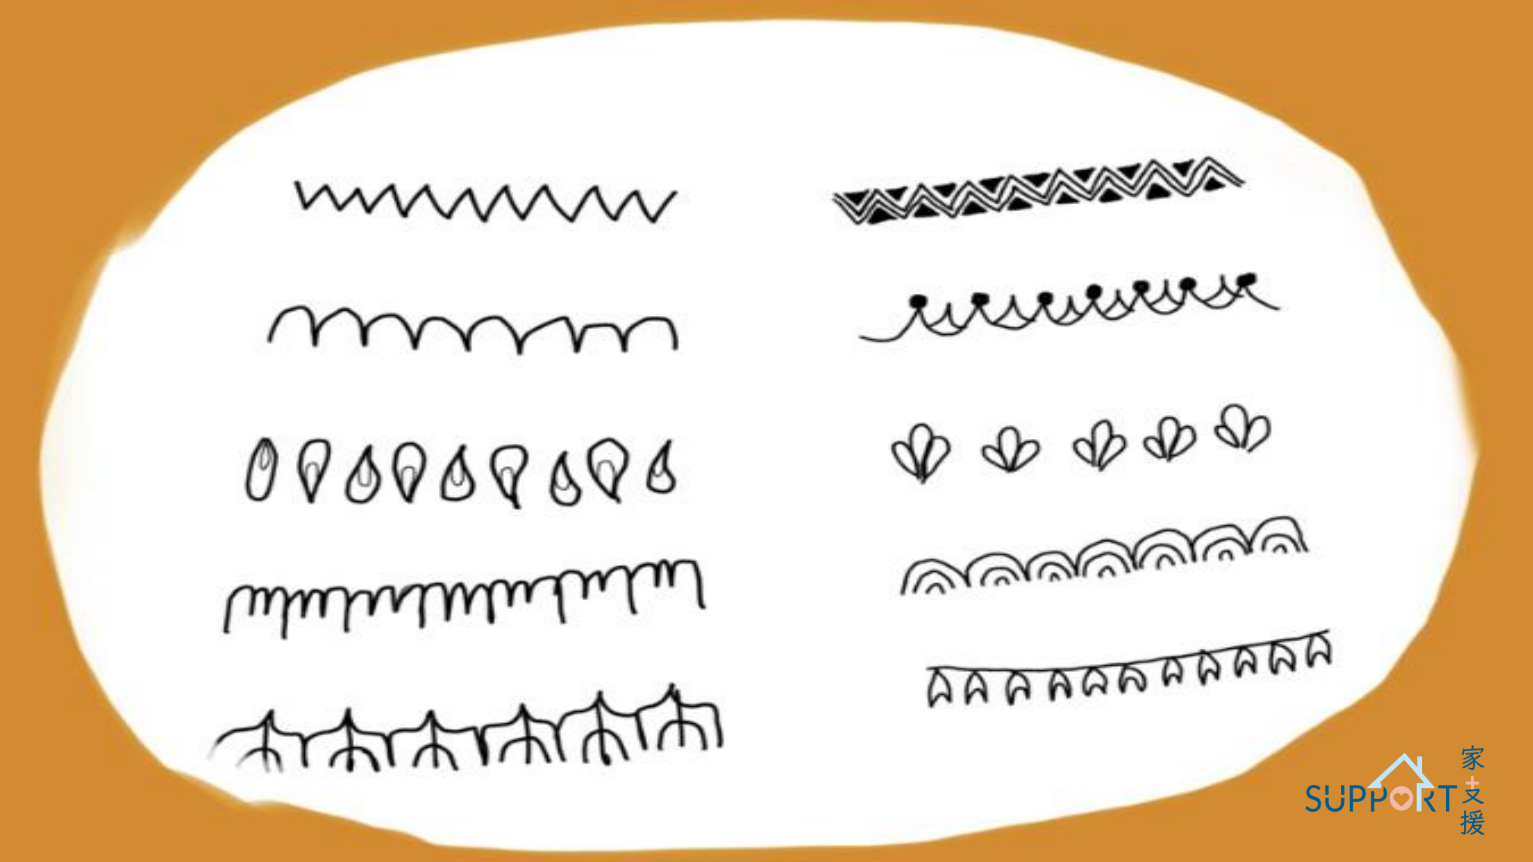
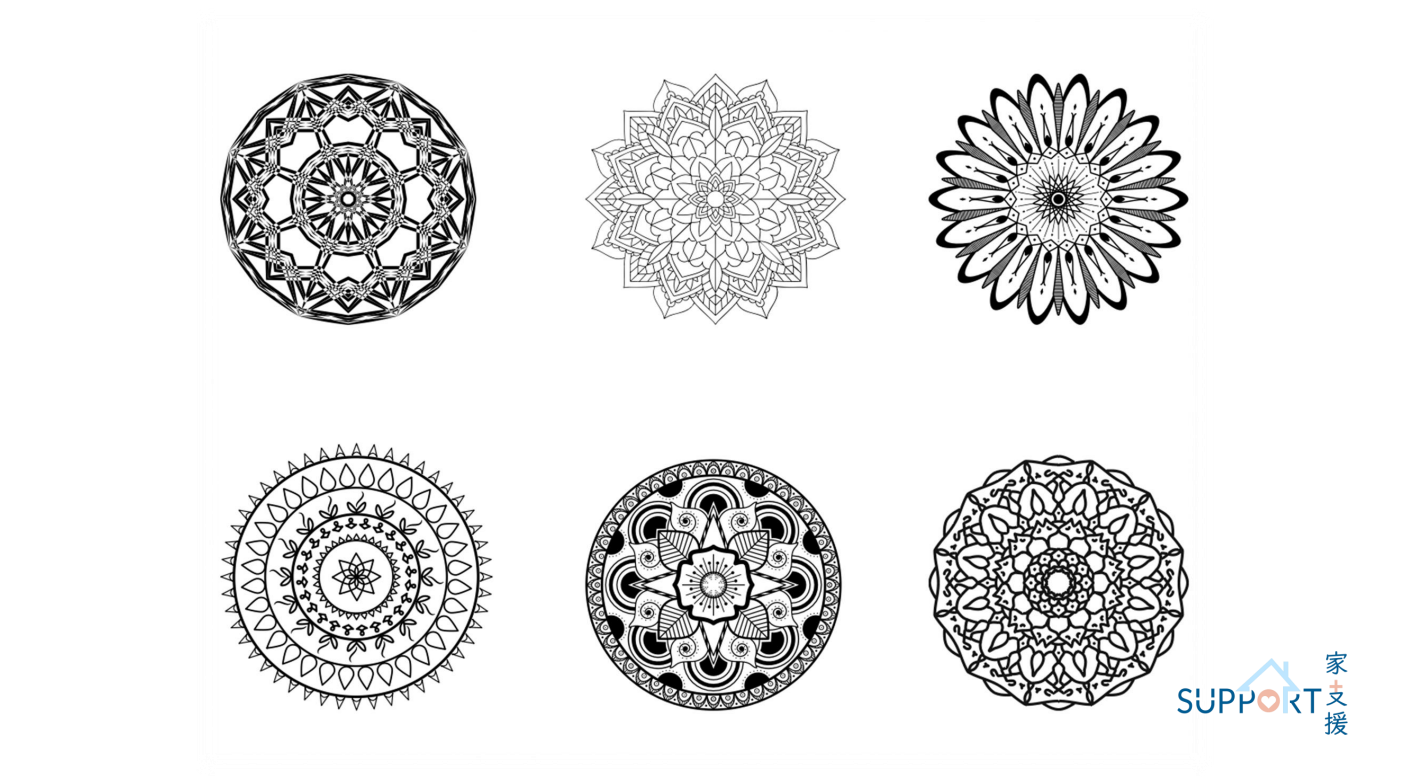
- One can refer to figure X for examples of elements that can be added from the inside out. It is easier to draw the mandala layer by layer on a small scale. This way it is easier to keep symmetry of the mandala without using a ruler or a compass.
- While drawing, try to focus one’s attention on the tip of the pen and the small part one is currently drawing.
- At the same time, remember keep one’s awareness open to encompass the whole mandala—this will train one to draw more proportionately and allow one to get rid of unwanted thoughts.
- Add any elements of choice as figure X is just for reference. One can draw the mandala according to moods and emotions. One should draw patterns that are aesthetically pleasing to oneself.

The following are some examples of mandalas:
4. Draw patterns
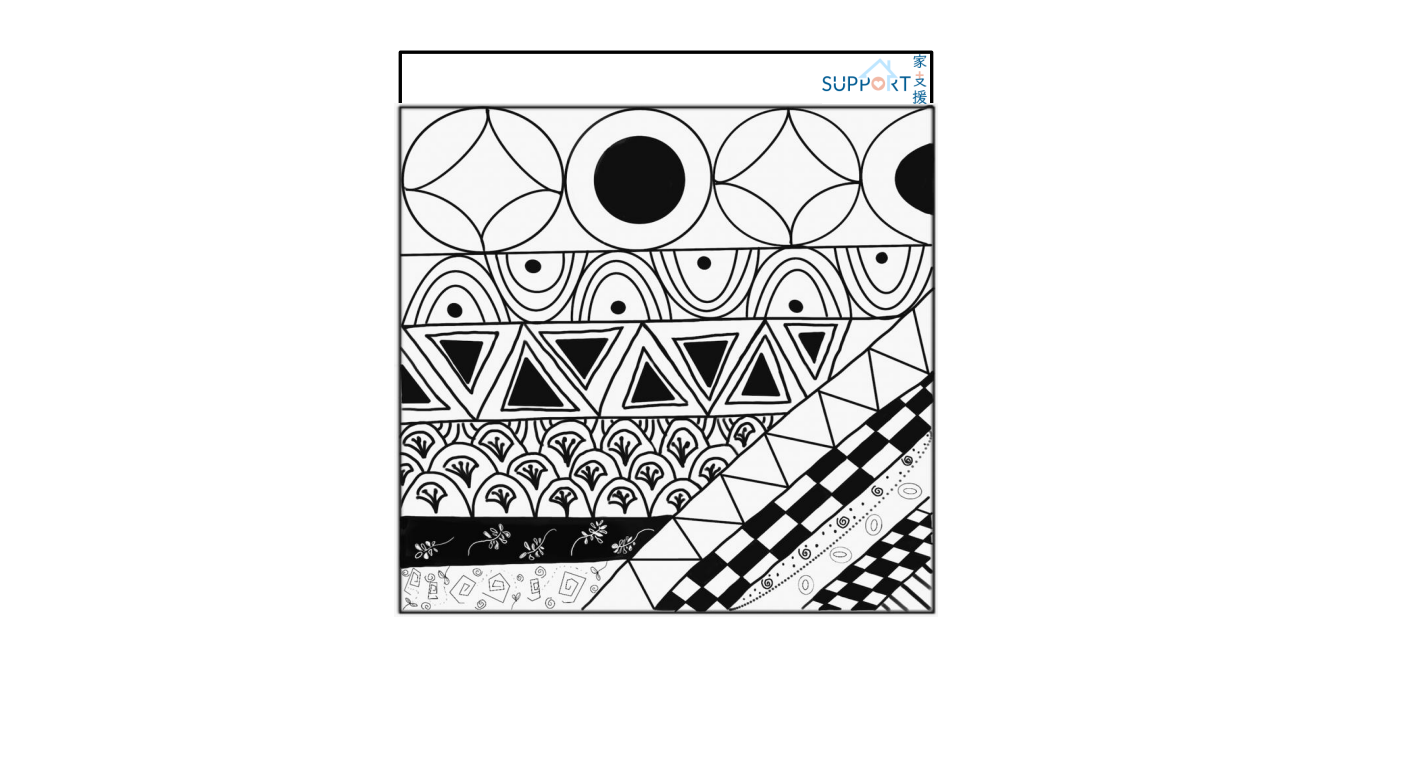
- One way to draw patterns is called the “Zentangle method”. Same with all previous exercises, find a place to draw comfortably and relax.
- Use a square paper this time.
- Then place a light pencil dot in each corner, about a pen's width from the edges.
- Connect these four dots with straight or curvy lines to create a square. This will be the border of the square.
- Inside the border, draw a light pencil line, either curvy or straight, which can divide the square into sessions.
- Draw shapes/ patterns inside each session.
- Fill in the shapes/ patterns to bring out different layers of contrast and add dimensions to the artwork.
5. Colour the mandalas and patterns
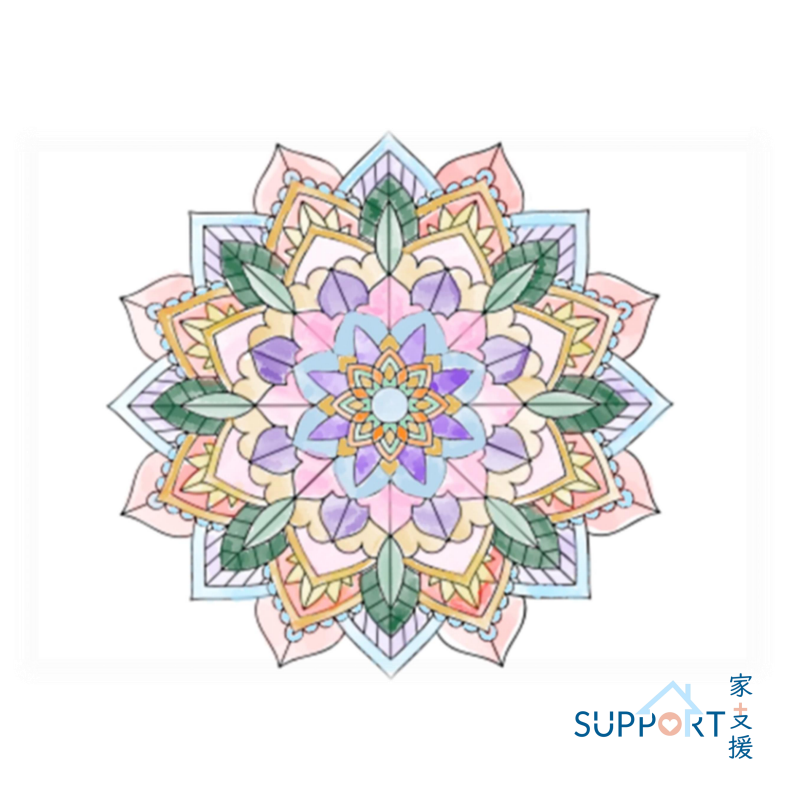
Colour previously drawn mandalas and pattern. There is no rule on colour usage.
After colouring, sit back and enjoy what one has created.
6. Colouring
It’s time to relax and do some colouring! You may go and download the file for colouring.


